# Integrate the BSV blockchain with web frameworks

> For the complete documentation index, see [llms.txt](https://bsvblockchain.com/docs/llms.txt).

Add a BSV blockchain wallet button to a Next.js or React app that connects to the user's wallet, sends a payment and calls an Express API that knows which wallet signed the request.

import AppFrameworksFlow from '/snippets/AppFrameworksFlow.jsx';

Add a BSV blockchain wallet button to a Next.js or React (Vite) app so a user connects [BSV Desktop](https://desktop.bsvb.tech/), pays 1,000 testnet satoshis (The smallest unit of BitcoinSV (BSV). 100,000,000 satoshis make 1 BSV) and calls an Express API that identifies their wallet. Use this when you already have a web project and want the wallet in it, instead of starting from a template. Everything here runs on testnet, and the examples are for the Next.js App Router and for Vite.

## Before you begin

You need Node.js 22 or newer and an existing Next.js or Vite React project written in TypeScript. You also need BSV Desktop open and unlocked on testnet, with some test coins. [Send a payment from a web app](https://bsvblockchain.com/docs/get-started/quick-start-browser/) shows how to set it up.

## How it works

The wallet belongs to the user, so your code reaches it from the browser and never from your server. The browser app sits between the wallet and your API:

<AppFrameworksFlow />

`WalletClient` finds BSV Desktop on the user's machine, which listens on `localhost`, and asks it for the identity key and for payments. BSV Desktop shows a **Spending Request** window before it spends, and no window for reads. Your Express API identifies the caller from the identity key of the wallet that signed the request, using the auth middleware from [Authenticate users with their wallet](https://bsvblockchain.com/docs/guides/identity-auth/).

> Code that runs on your server cannot reach the wallet of your users. On your own development machine a server route can reach your own BSV Desktop, which hides the problem until you deploy. Keep `WalletClient` in the browser, and give the server its own wallet or have it verify what the browser signed.

## Add the wallet to your app

The wallet button is written once in a Next.js app, checked with a payment, and then reused in a Vite project.

### Add the wallet to a Next.js app

Add a button to your Next.js app that connects to the wallet and sends a payment, with the wallet code in a Client Component:

**1. Install the SDK**

Install the SDK in your project folder. This guide was tested with `@bsv/sdk` 3.2.1 and Next.js 16:

```bash
npm install @bsv/sdk
```

**2. Create the wallet button**

Create `app/WalletButton.tsx` in your project. The `'use client'` line makes it a Client Component, so `WalletClient` only runs in the browser, when a button is clicked:

```tsx app/WalletButton.tsx
'use client'

import { useState } from 'react'
import { P2PKH, WalletClient } from '@bsv/sdk'

export default function WalletButton() {
  const [identityKey, setIdentityKey] = useState('')
  const [network, setNetwork] = useState('')
  const [address, setAddress] = useState('')
  const [txid, setTxid] = useState('')
  const [error, setError] = useState('')

  async function connect() {
    setError('')
    try {
      const wallet = new WalletClient('auto', 'localhost')
      const { publicKey } = await wallet.getPublicKey({ identityKey: true })
      const net = await wallet.getNetwork()
      setIdentityKey(publicKey)
      setNetwork(net.network)
    } catch (e) {
      setError(String(e))
    }
  }

  async function pay() {
    setError('')
    try {
      const wallet = new WalletClient('auto', 'localhost')
      const lockingScript = new P2PKH().lock(address).toHex()
      const result = await wallet.createAction({
        description: 'Pay my own address',
        outputs: [{ satoshis: 1000, lockingScript, outputDescription: 'payment to my address' }]
      })
      setTxid(result.txid ?? '')
    } catch (e) {
      setError(String(e))
    }
  }

  return (
    <div>
      <button onClick={connect}>Connect</button>
      <p>Identity key: {identityKey}</p>
      <p>Network: {network}</p>
      <input placeholder="Your testnet address" value={address} onChange={(e) => setAddress(e.target.value)} />
      <button onClick={pay}>Pay 1000 satoshis</button>
      <p>Transaction ID: {txid}</p>
      <p>Error: {error}</p>
    </div>
  )
}
```

Four parts do the work with the wallet:

- `new WalletClient('auto', 'localhost')` finds the wallet on the user's machine. The second value is the originator, the name of your app that BSV Desktop shows in its windows. Use `localhost` while you develop and the host name of your app in production.
- `getPublicKey({ identityKey: true })` returns the identity key (The public key that identifies a wallet to an app. The private key never leaves the wallet) of the wallet, and `getNetwork()` returns the network the wallet is on.
- `createAction` asks the wallet for a transaction. The `P2PKH().lock(address)` call builds the locking script (The part of a transaction output that sets the condition to spend it) that pays to a P2PKH (Pay to Public Key Hash) address. The `description` and the `outputDescription` are the texts the user reads in the wallet window.
- `result.txid ?? ''` covers the case where the wallet returns no transaction ID, so the page shows an empty value instead of failing.

**3. Add the button to a page**

Replace the contents of `app/page.tsx` with this page, which renders the component:

```tsx app/page.tsx
import WalletButton from './WalletButton'

export default function Home() {
  return (
    <main>
      <h1>BSV wallet in Next.js</h1>
      <WalletButton />
    </main>
  )
}
```

**4. Connect to the wallet**

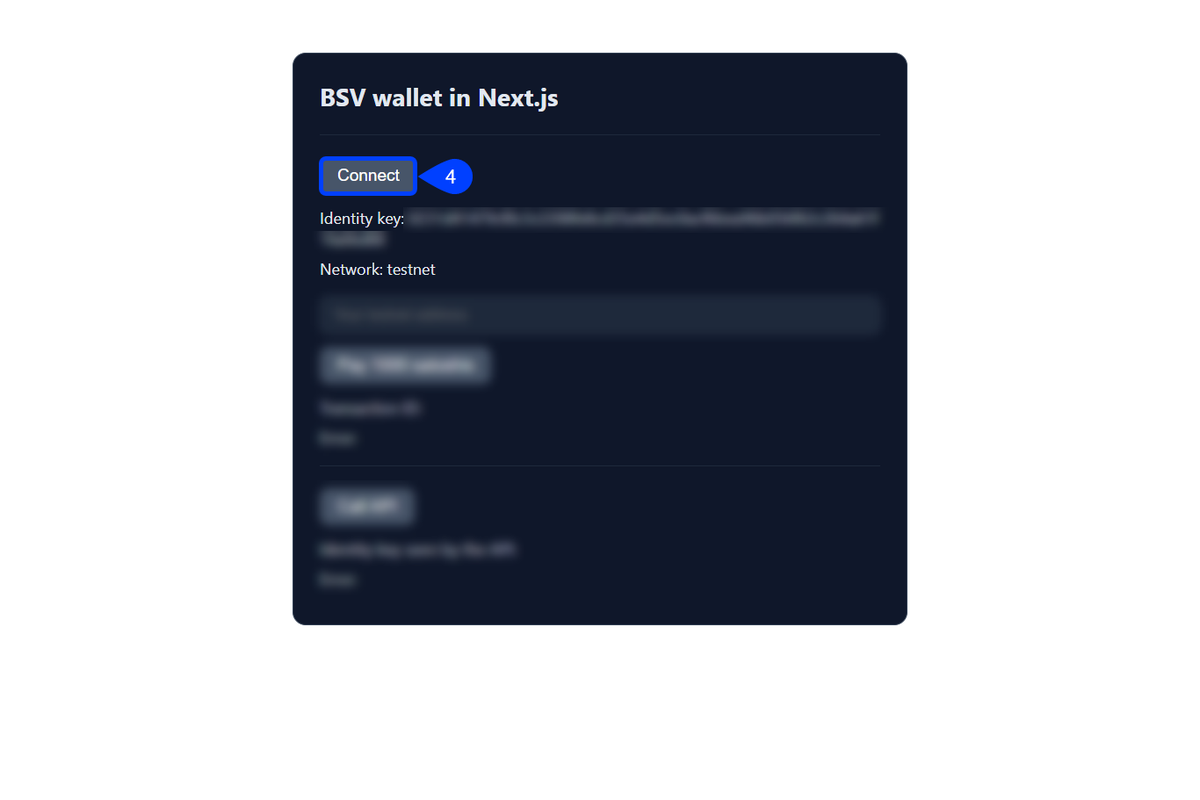
Start the app with `npm run dev`, open `http://localhost:3000` and click **Connect**. With BSV Desktop open on testnet, the page shows the identity key of the wallet as 66 hexadecimal characters, and `Network: testnet`. BSV Desktop shows no window for this read.

<img src="https://bsvblockchain.com/docs/images/app-frameworks/04-connect-wallet.png" alt="The page of the app after a click on the highlighted Connect button, with the identity key blurred and Network: testnet below it" />

### Send a payment from the page

With the page connected, send 1,000 satoshis to an address of your own wallet, then see the transaction on the explorer. Check the address first, because a blockchain transaction cannot be reversed:

**1. Copy your testnet address**

On the **Wallet** page of BSV Desktop, click **Get paid** and copy the address with **Copy address**. A testnet address starts with `m` or `n`. The coins come back to your wallet, so only the fee is spent.
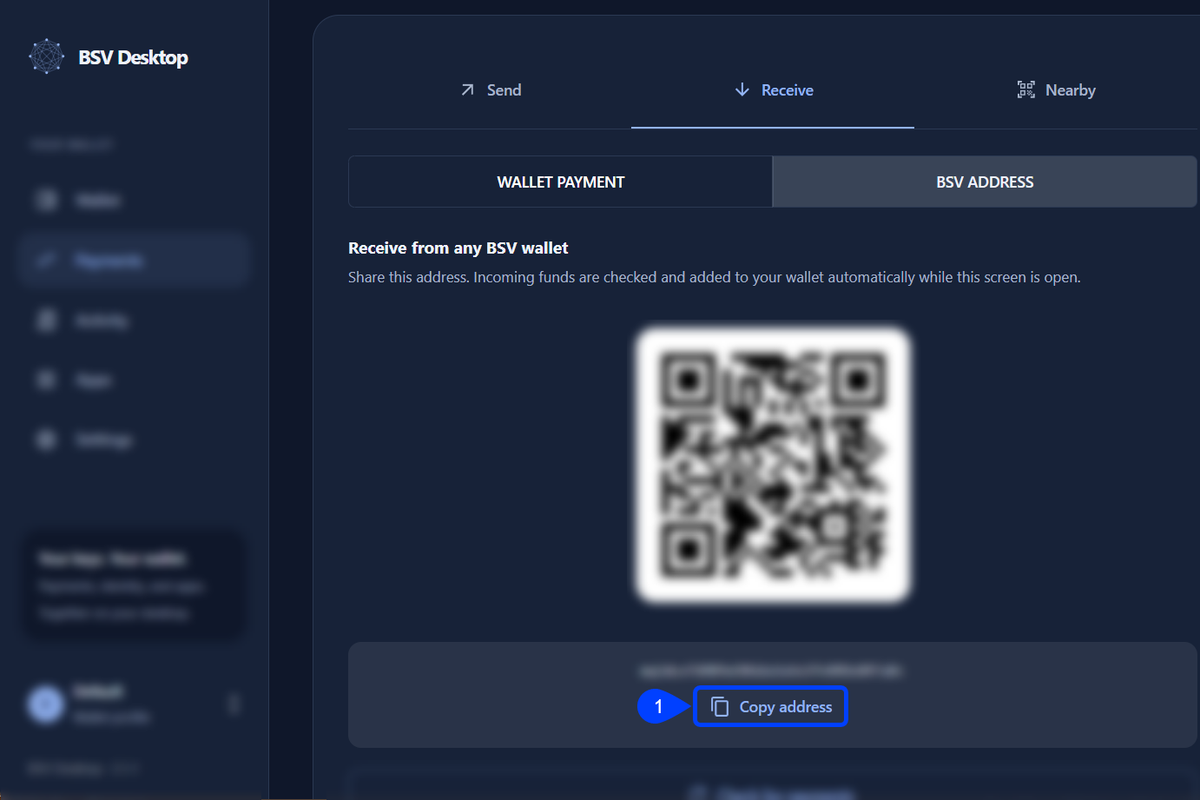
<img src="https://bsvblockchain.com/docs/images/app-frameworks/01-copy-address.png" alt="The Get paid screen of BSV Desktop on the Receive tab with the BSV Address option, the receive address and its QR code blurred, and the Copy address button highlighted" />

**2. Click Pay in the page**

Paste the address in the field of the page and click **Pay 1000 satoshis**. BSV Desktop opens a **Spending Request** window.
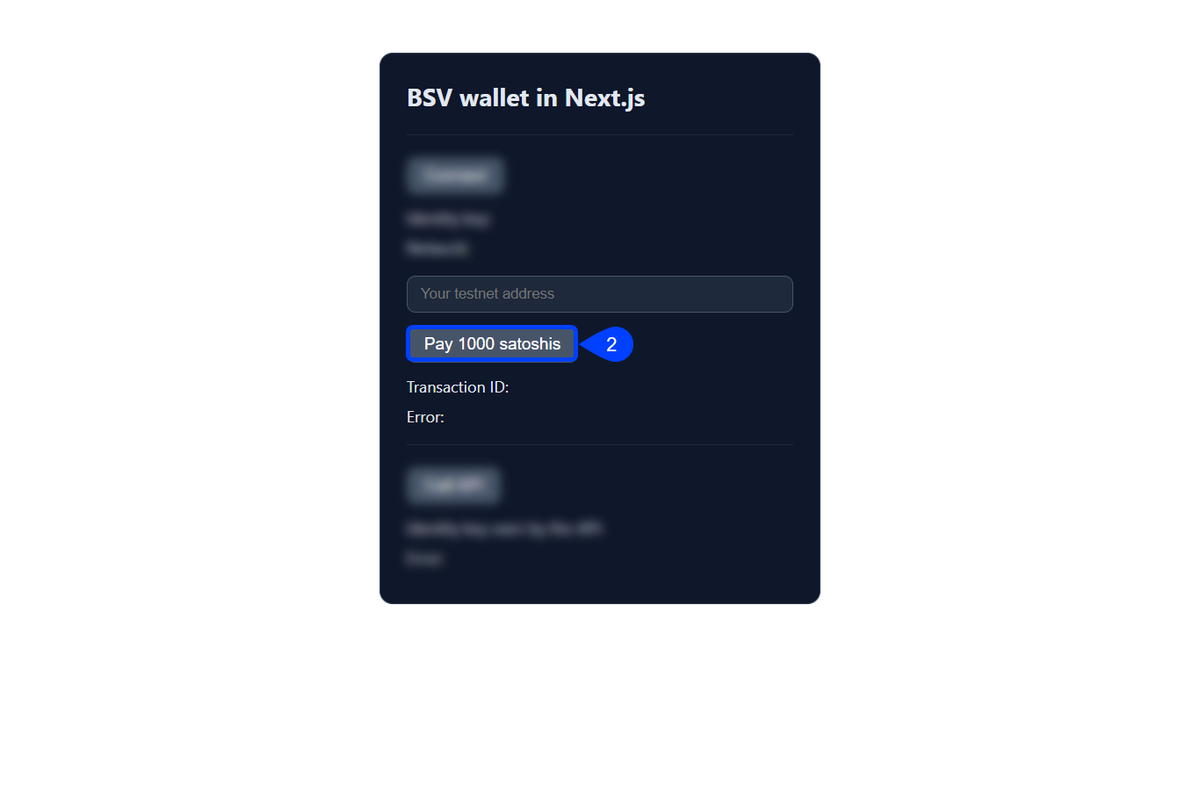
<img src="https://bsvblockchain.com/docs/images/app-frameworks/02-click-pay.png" alt="The page of the app with the Pay 1000 satoshis button highlighted below the field for the testnet address" />

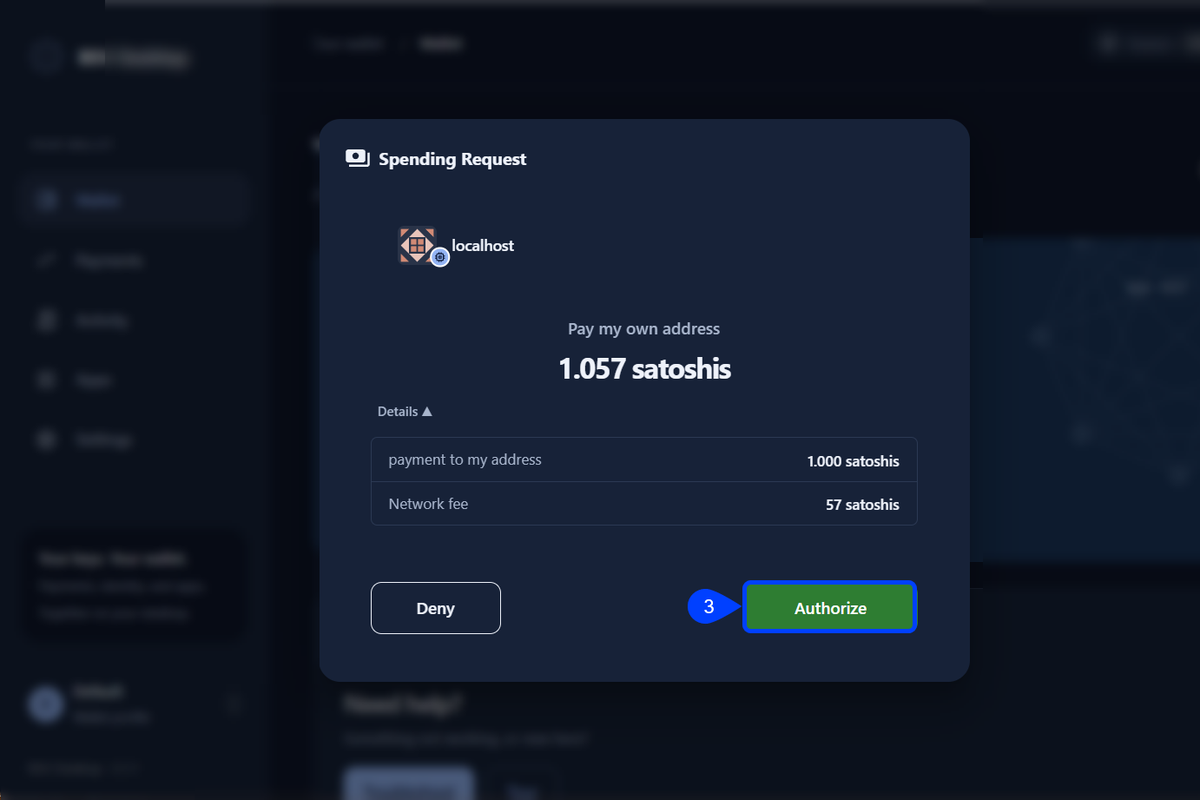
**3. Authorize the payment**

In the **Spending Request** window, check the values and click **Authorize**. The window shows the name of your app, `localhost`, and the `description` as its title. Under **Details** it lists the `outputDescription` with 1,000 satoshis, and a **Network fee** of 57 satoshis, for a total of 1,057 satoshis.
<img src="https://bsvblockchain.com/docs/images/app-frameworks/03-authorize-payment.png" alt="The Spending Request window of BSV Desktop from localhost for a payment named Pay my own address, with 1,057 satoshis in total, the 1,000 satoshi output, the 57 satoshi network fee, and the Authorize button highlighted" />

**4. Open the transaction**

After the approval, the page fills in the transaction ID. Open it on the testnet explorer by replacing `TXID` with that value:

```text
https://test.whatsonchain.com/tx/TXID
```

The explorer can take about a minute to list a new transaction, so reload the page if it does not find it yet. It then shows one output of 0.00001 BSV to your address and a second output with the change.

[Verify your payment](https://bsvblockchain.com/docs/get-started/verify/) explains each field of the explorer page.

### Use the same button in React with Vite

The component needs no framework setting, so copy `WalletButton.tsx` into the `src` folder of a Vite React project. Remove the `'use client'` line, which only Next.js uses, and render the component in `src/App.tsx`:

```tsx src/App.tsx
import WalletButton from './WalletButton'

export default function App() {
  return (
    <main>
      <h1>BSV wallet in React with Vite</h1>
      <WalletButton />
    </main>
  )
}
```

Install `@bsv/sdk` and start the project with `npm run dev`. Vite serves the page at `http://localhost:5173`, where **Connect** and **Pay 1000 satoshis** behave as in Next.js.

## Call an Express API from the browser

To make the API recognize the wallet that calls it, build the server as in [Authenticate users with their wallet](https://bsvblockchain.com/docs/guides/identity-auth/) and make two changes, because the caller is now a page on another origin:

**1. Allow the page origins on the server**

In the server project of that guide, install CORS with `npm install cors` and `npm install --save-dev @types/cors`. Then replace `server.ts` with this version, which adds the `cors` middleware above `express.json()` and the auth middleware, and listens on port 4000 so it does not clash with Next.js:

```ts server.ts
import express from 'express'
import cors from 'cors'
import { createAuthMiddleware, type AuthRequest } from '@bsv/auth-express-middleware'
import { createServerWallet } from './wallet.js'

const wallet = await createServerWallet()
const app = express()

const authHeaders = [
  'x-bsv-auth-version',
  'x-bsv-auth-message-type',
  'x-bsv-auth-identity-key',
  'x-bsv-auth-nonce',
  'x-bsv-auth-your-nonce',
  'x-bsv-auth-signature',
  'x-bsv-auth-request-id',
  'x-bsv-auth-requested-certificates'
]

app.use(cors({
  origin: ['http://localhost:3000', 'http://localhost:5173'],
  allowedHeaders: ['content-type', 'authorization', ...authHeaders],
  exposedHeaders: authHeaders
}))

app.use(express.json())
app.use(createAuthMiddleware({ wallet }))

app.get('/private', (req: AuthRequest, res) => {
  res.json({ identityKey: req.auth?.identityKey })
})

app.listen(4000, () => console.log('Server on http://localhost:4000'))
```

The auth middleware answers every request that lacks the `x-bsv-auth-*` headers with a 401, and a browser sends a preflight request without them first. The `cors` middleware has to come first so it answers that preflight. `allowedHeaders` lets the page send the headers, and `exposedHeaders` lets it read the headers of the response.

**2. Create the client component**

Create `app/CallApi.tsx` in the Next.js project, or `src/CallApi.tsx` in Vite. It wraps the wallet in `AuthFetch`, which signs each request with the wallet and checks the signed response:

```tsx app/CallApi.tsx
'use client'

import { useState } from 'react'
import { AuthFetch, WalletClient } from '@bsv/sdk'

export default function CallApi() {
  const [serverKey, setServerKey] = useState('')
  const [error, setError] = useState('')

  async function callApi() {
    setError('')
    try {
      const authFetch = new AuthFetch(new WalletClient('auto', 'localhost'))
      const response = await authFetch.fetch('http://localhost:4000/private')
      const body = await response.json()
      setServerKey(body.identityKey)
    } catch (e) {
      setError(String(e))
    }
  }

  return (
    <div>
      <button onClick={callApi}>Call API</button>
      <p>Identity key seen by the API: {serverKey}</p>
      <p>Error: {error}</p>
    </div>
  )
}
```

Render `<CallApi />` next to `<WalletButton />` in your page. In Vite, remove the `'use client'` line.

**3. Call the API**

Start the server in its own terminal with `npx tsx server.ts`. It prints the line below and stays busy:

```text
Server on http://localhost:4000
```

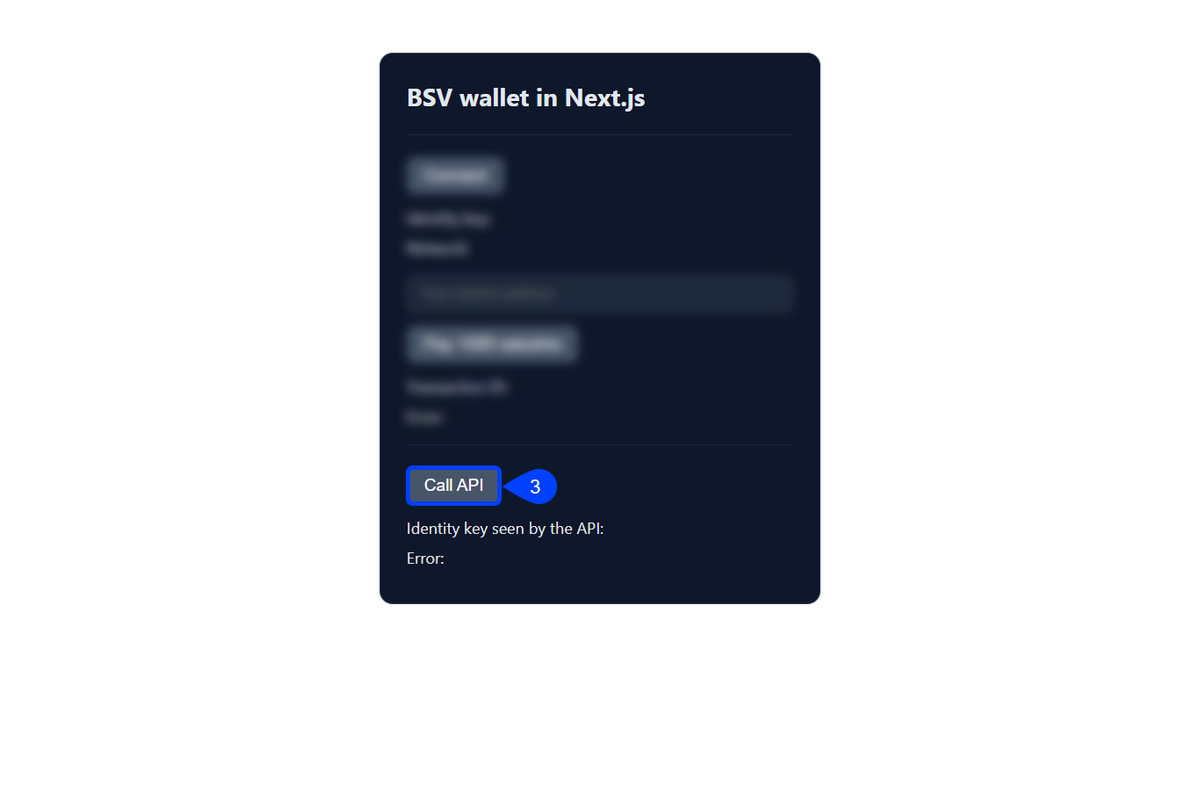
Then click **Call API** in the page. The page shows the identity key that the route read from `req.auth.identityKey`, and it is the same key that **Connect** showed. BSV Desktop shows no window for the signed request.

<img src="https://bsvblockchain.com/docs/images/app-frameworks/05-call-api.png" alt="The page of the app with the Call API button highlighted above the line for the identity key seen by the API" />

## Keep wallet packages out of the Next.js server bundle

Client Components and Route Handlers that only import `@bsv/sdk` build with the default Next.js settings. A server file that imports `@bsv/wallet-toolbox`, which a server wallet needs, makes `next build` fail, because the package pulls in database drivers that the bundler cannot resolve. Tell Next.js to load it from `node_modules` instead, in `next.config.ts`:

```ts next.config.ts
import type { NextConfig } from 'next'

const nextConfig: NextConfig = {
  serverExternalPackages: ['@bsv/wallet-toolbox']
}

export default nextConfig
```

The setting works the same with Turbopack and with webpack.

## Troubleshooting

**Page cannot find BSV Desktop**

The page shows `No wallet available over any communication substrate. Install a BSV wallet today!`. No wallet answered on the user's machine, which usually means BSV Desktop is closed. Open BSV Desktop, keep it unlocked, and click the button again.

**Call API fails with a network error**

The page shows `Network error while sending authenticated request to http://localhost:4000/.well-known/auth: Failed to fetch`. The message does not name CORS, but the cause is that the server sent no CORS headers or does not allow the origin of the page. Add the `cors` middleware above the auth middleware, as in the server step, and include the origin of your page in `origin`.

**Next.js build cannot resolve mariadb or mysql**

The build stops with `Module not found: Can't resolve 'mariadb/callback'`, followed by `mysql` and other drivers. A server file imports `@bsv/wallet-toolbox`, which pulls in `knex`. Add the package to `serverExternalPackages` in `next.config.ts`.

## Next steps

With the wallet working in your app, continue with:

- [Verify your payment](https://bsvblockchain.com/docs/get-started/verify/)
- [Gate an API behind payments](https://bsvblockchain.com/docs/guides/payments/)
- [Store data and files](https://bsvblockchain.com/docs/guides/data-storage/)